thoughtfulocean
111676
845
15

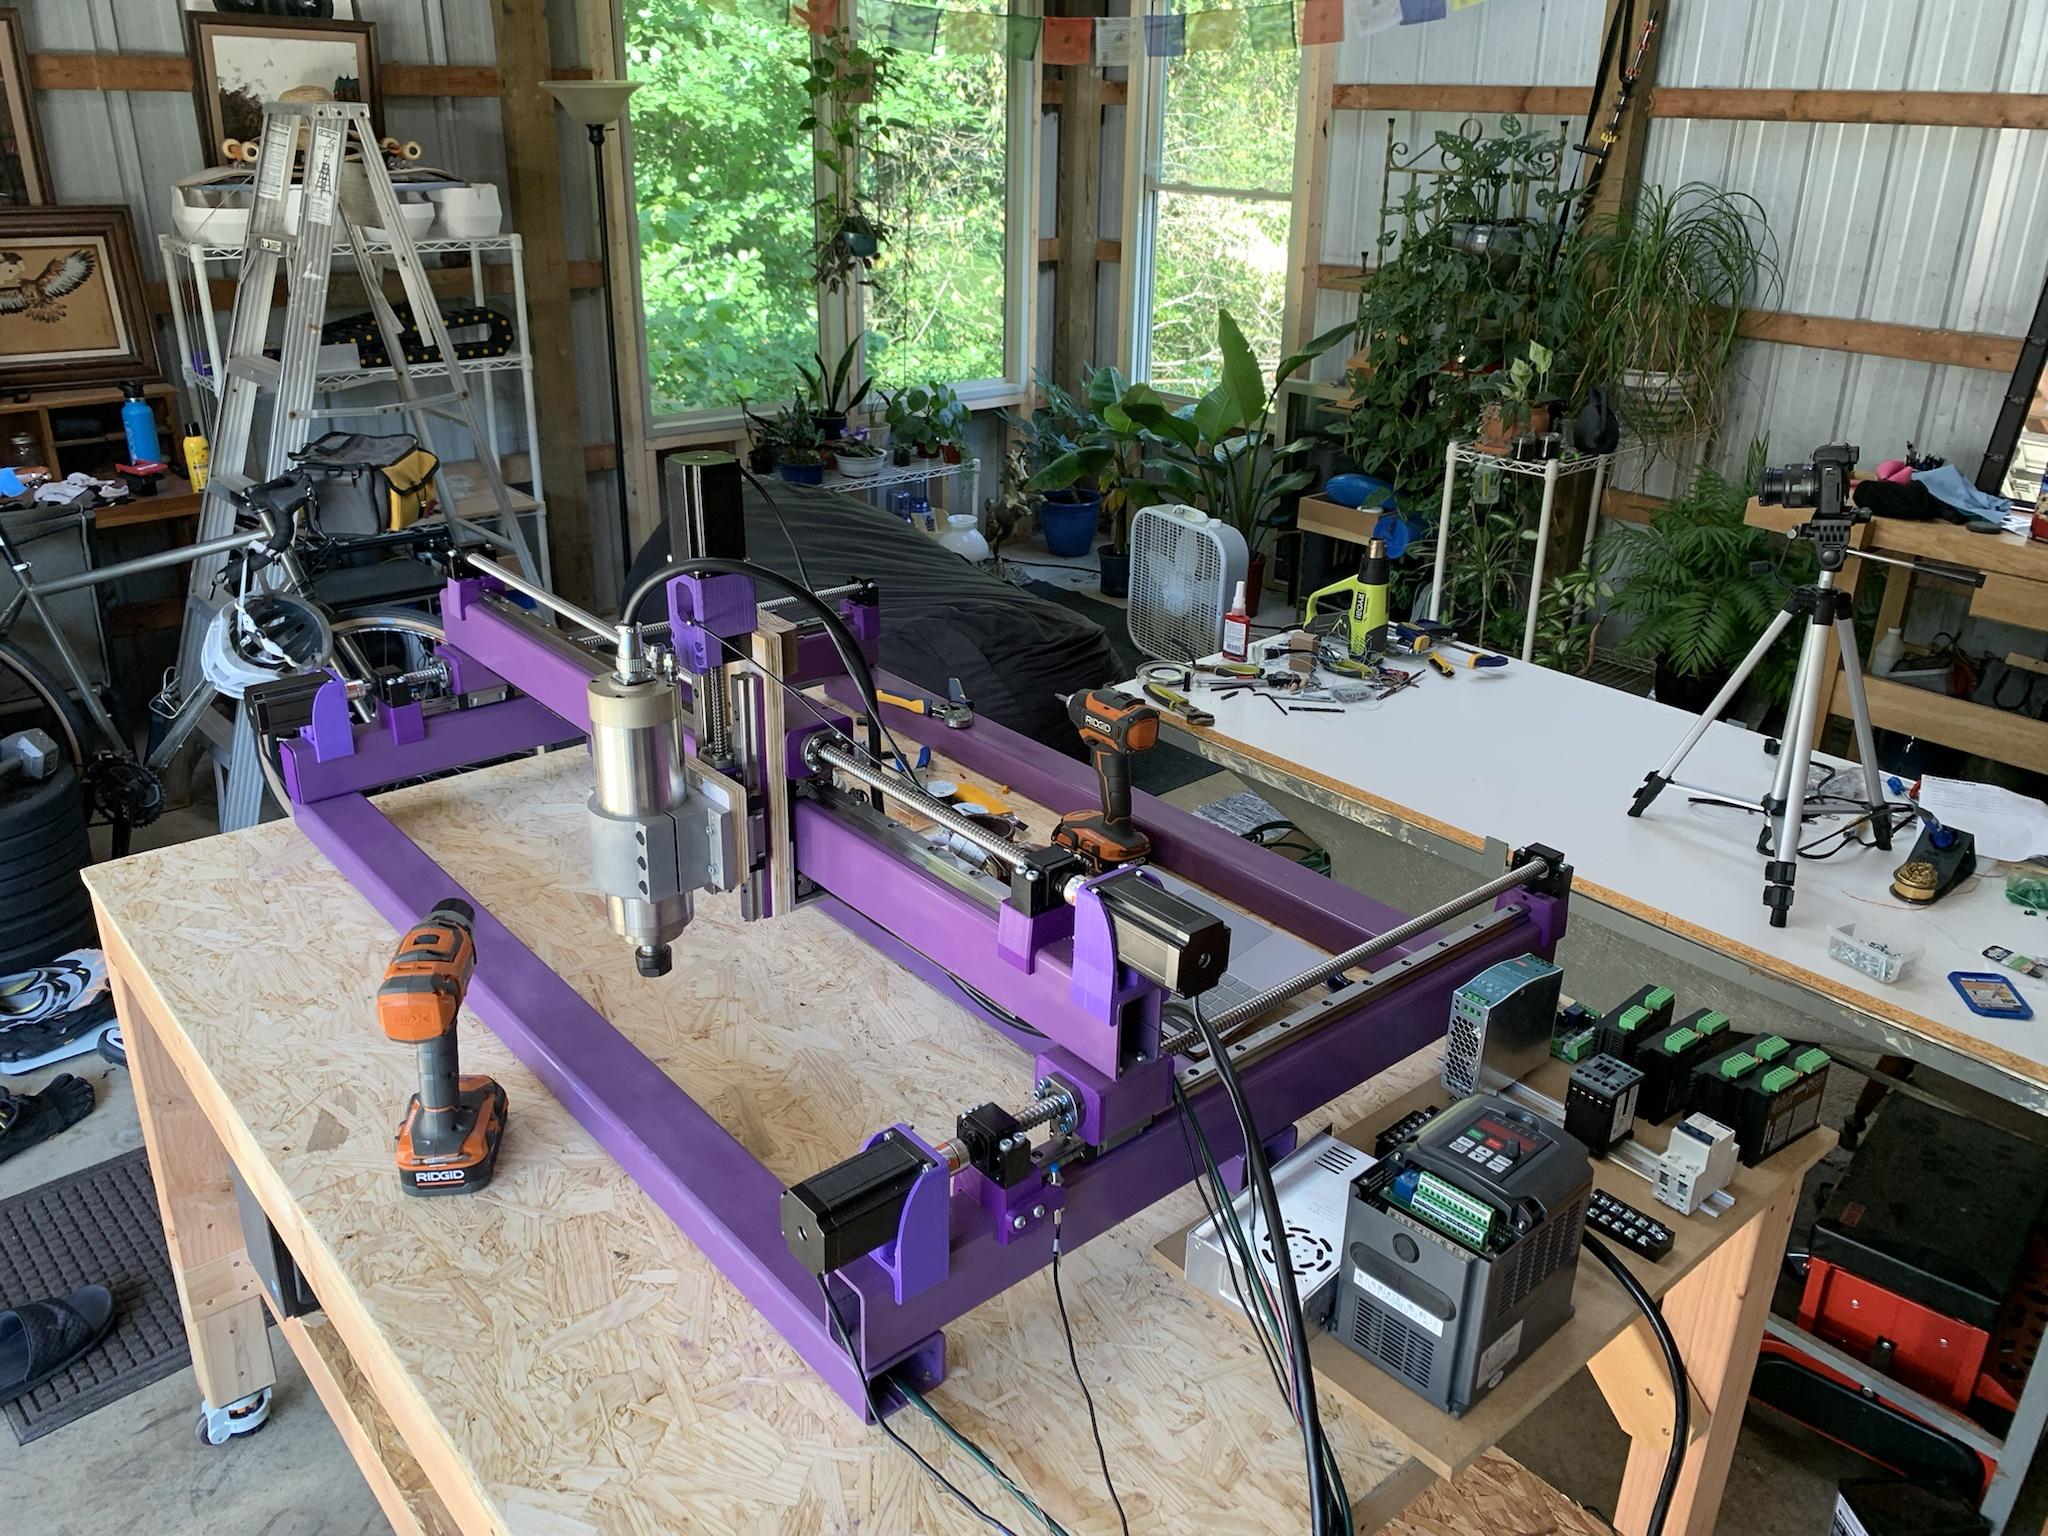
This is my finished printnc cnc router. Took way longer than I expected and isn’t quite done, but it’s good enough!
I’ve been building it over the past few months and documenting on my Instagram:
https://www.instagram.com/prattceramics

I started the project in early 2021 and the first thing I purchased was this Dell optiplex 960 off of fb marketplace for $100.

I purchased a PrintNC kit that included all the major components off of AliExpress for about $1100. More details about the kit and PrintNC:
https://wiki.printnc.info/
https://threedesign.store/

I sourced and used 2”x3” steel tubing. The design can be adjusted to your requirements. I chose the “standard” size, which will have a cutting area approximately 36”x24”. I cut my steel to the required lengths.

There is a fusion360 model that has all the required hole locations and these markers that you 3D print.

You use a punch to mark each spot then either drill or tap the holes depending on the location.

It took a while to print all the parts.

Finally started assembling it.

The linear rails and ball screws are all included in the kit. I did purchase all my hardware from McMaster.

The completed base frame.

Had to print a few more parts before moving on.

Installed the first y-axis ball screw. This is when it actually started to feel real.

These are also included in the kit. I still needed to buy a few electronic components (24v power supply, wires, connectors, relays, switches) and that will all vary depending on your build.

Used petg to print the motor mounts.

The garage looked something like this for a while.

The steel frame is complete. Now I just need to disassemble and paint it.

I sanded all of them

Cleaned all the dust off.

Primer

A few coats of spray paint.

Built a table for it. It has rolling casters that can be leveled. It’s convenient if I ever need to move it around.

Used some osb for the top.

Started the final assembly of the frame.

This was another dry fit to make sure I had everything.

Now I just need to finish the z-axis and mount the spindle.

Spindle and z-axis parts.

I used plywood for the mounting plates, with the idea that I’d replace them with aluminum once I have the machine working.

Designed and printed these limit switch mounts. These are inductive switches, so they just need to be near metal to be triggered.

It looks close, but there is still a ton of work left.
Assembly with loctite on every screw.
Assembly. Pt.2

Now I get to work on the electronics.
Don’t really know what I’m doing, but the instructions on the wiki are very thorough and folks on the printnc discord are also very helpful if you run into any problems.
First moves!
Everything working now.

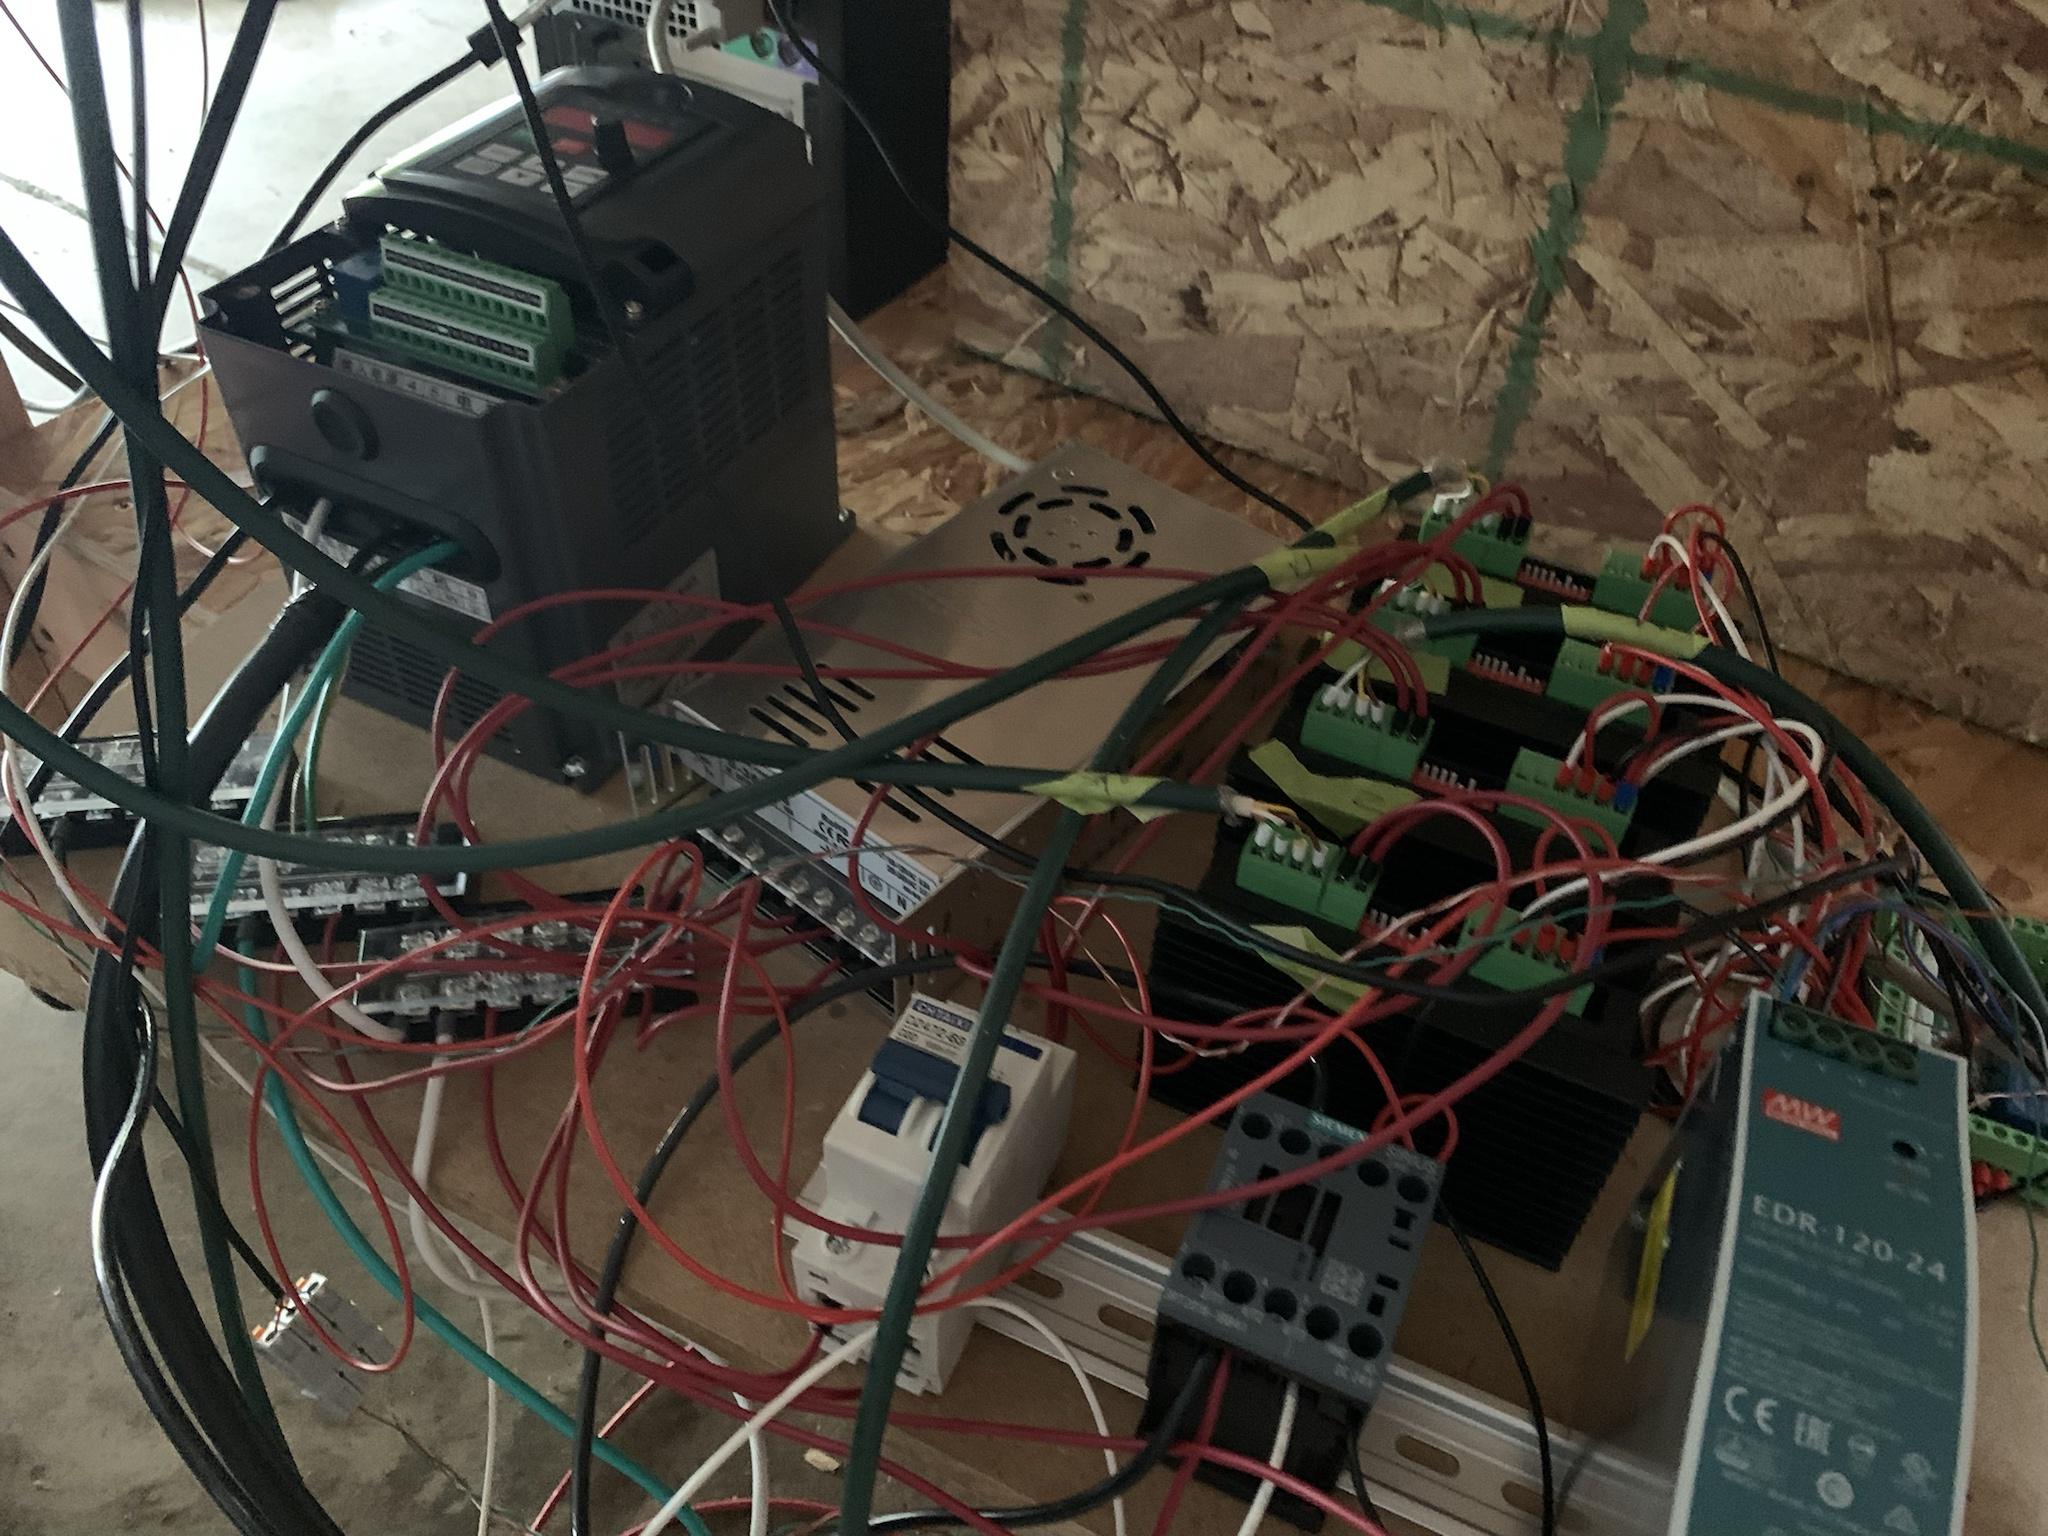
Could’ve managed this mess a little better.

This is a parallel port breakout board (BOB). It is what connects the computer (linuxcnc) to the router. All of the motor drivers and limit switches connect to this.
Getting the vfd and spindle set up was more of a pain than I expected, but I figured it out eventually.
It has a 2.2kw 24,000rpm water cooled spindle.
Safety first. Don’t touch anything. Danger noodles.

Getting closer to the finish line.

I got linuxcnc set up on the pc and everything wired correctly. I guess it’s time to try and drill a hole.
It works!
Pro tip: don’t sit your camera on the table.

Used 3/4” mdf for the wasteboard.

Drilled a few holes and mounted it to the frame.

Getting real sick of trying to get a bunch of screw holes to line up…

Added another smaller sacrificial piece to screw directly into when I’m holding workpieces.
First cut ever. I’m using fusion 360 for 3D modeling, cad/cam
Printed a magnet dust shoe that connects to the vacuum.

This is what it looks like today. I’m planning on using it to machine ceramic molds in the future as well as a bunch of other projects.
prattceramics.com
IReallyNeedToKnow
Why would you build a consensual non-consensual router?
SirNodsAlot
Very impressive, nice job!
MeshHatMafia
Dude! You got a Dell!
bertmag
This is so cool! Any reason you used inductive sensors rather than traditional mechanical end stop switches?
Devolv3
Now CNC a better 3d printer..rinse and repeat until your making mini universes
Omoga
My only question is why you purchased a $5 dell optiplex for $100 on FB Marketplace. Self plug, I'll sell one for $5 in Central IL :D
AntikytheraMechanism31415
I made an mpcnc... It is a waste of time. Its not really capable of much.
CakeTerrorizer
Next you should build a cnc music factory
ProfessorMatt
HenryLongfellowIII
Nice to see a big project like that come together. I'm sure there were snags along the way.
AlmightyDiapahbetusGarlicGerbil
Neat! :D ... ... TF am I looking at, tho?
Jaeger6Ix
How much did everything cost all the parts
IHateToTurnUpTheVolumeOfMyTvBecauseMyCatIsSnoring
Honestly, for the money you spent on the Chinese kit, you can almost buy a good used profesional one, which will also be waaaaay better
BanGurHeaD
great job but why purple of all things huha
jonlykkeDK
Nice work!
roguishdrummer
Looks great! I'm currently in the process of building a table for a mostly printed CNC. I already know I'm going to need to swap to nema 23
kruug
Two things I've found to be true for hobby CNC: you're going to spend a lot of money; it's easier if you already have one and a 3D printer
CakeShapedPie
Use the toolsa t your local makerspace and take advantage of the knowledge there too
kruug
Nearest one is 4 hours away...
GuideWire
Cool! I feel like an idiot watching this.... can I do it? Probably not.
CakeShapedPie
Yes. You probably can. Check out your local makerspace.
HandoB4Javert
Sweet
vrimgr
Yery cool man! What's your educational background? You a mechanical engineer? You have wife and kids??Very envious of people with free time
napsmear
thoughtfulocean
This is how I felt about half way through the project.
napsmear
Certainly looks ambitious and the results look really well done, awesome work. The gif I made is all in fun and only meant to make smiles
bundleofwoodensticks
This reminds me of RetinaSmelter9000, William Osman’s laser cutter. I miss him.
InvaderOwl
Awesome!
HandoB4Javert
How much does this all cost?
tiderfish
And how long did it take?
thoughtfulocean
Haven’t added it all up but probably $2,000-2,500. The whole thing took about 6 months working very inconsistently.
FieldTester96
Not to be that guy. But a used CNC is like 1k and a new one of that size is only 5k
Baurge
Sometimes it's just as much about can I do it as much as should I do it.
HandoB4Javert
Looks like many years of making things to come
JeffGodofBiscuits
very cool! One suggestion for you though would be to cover that OSB with some formica. One spilled cup of coffee could give you swelling
Sqeezytzatziki
Who needs coffee. ? I got swelling just looking at it !
Sqeezytzatziki
Nice Job OP.
IHateToTurnUpTheVolumeOfMyTvBecauseMyCatIsSnoring
That OSB is sacrificial anyway, you'll always cut into it and replace it at some point, hence choosing an cheap material
oldguyexlurker
I think you're referring to the MDF. The OSB is under the frame. Well away from the cutting tool.
SterlingArcherSecretAgent
Wouldn't matter if the osb swells up, the structural integrity is in the steel beams.
StunttheRunt
One could use MDO (medium density overlay) board of they like. Same stuff for billboards outdoors. Used some 3/4" for my work van floor.
SterlingArcherSecretAgent
Sure, but what would be the point of using something more expensive?
StunttheRunt
True but you save cost and time vs laminate. Laminate, plus contact cement plus substrate plus time. MDO cut and done. Lasts a long time too
SterlingArcherSecretAgent
Usually these machines are used indoors, so OSB would last equally long, at a fraction of the cost. Only imaginative reasons not to use OSB.
JeffGodofBiscuits
true, but it might take the bed off level
SterlingArcherSecretAgent
Doesn't matter if the bed is level, as long as it's trammed. The metal looks sturdy enough that it could probably work fine on a lawn lol
JeffGodofBiscuits
Yeah, I don't think much will take it out of square, that's for sure.